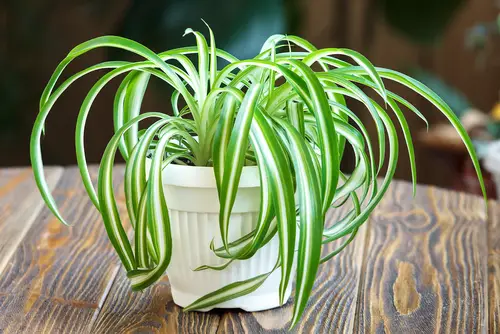
Spider plants are popular houseplants known for their unique appearance and air-purifying abilities. However, if you notice your spider plant drooping, it could be a sign that something is wrong. Understanding the reasons behind spider plant drooping is crucial to reviving the plant and bringing it back to its healthy state.
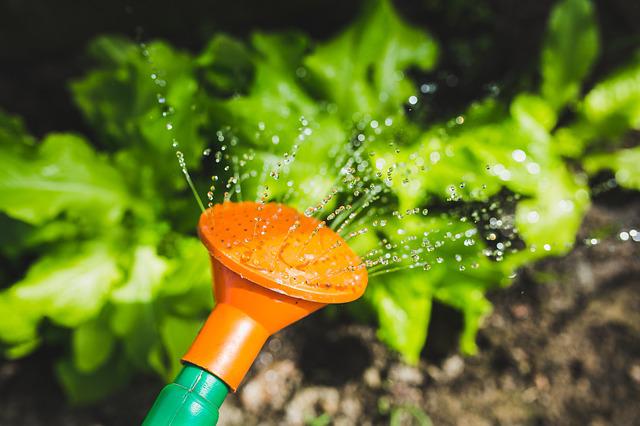
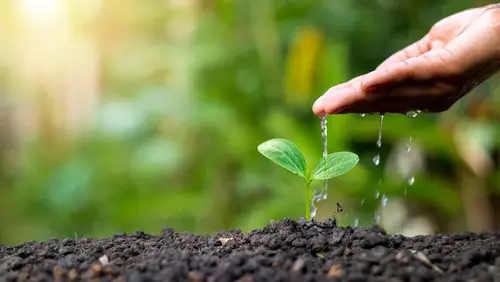
One of the most common reasons for spider plant drooping is inadequate watering and moisture. Spider plants can tolerate some dry soil, but they don’t like to be completely dried out for extended periods.
Overwatering can also lead to root rot, which can cause the plant to wilt and droop. Other factors that can cause spider plant drooping include improper light and temperature, poor soil quality and drainage, lack of nutrition and fertilizer, pests, and root problems.
Key Takeaways on Spider Plant is Drooping
- Spider plant drooping can be caused by various factors, including inadequate watering, improper light and temperature, poor soil quality and drainage, lack of nutrition and fertilizer, pests, and root problems.
- To revive a drooping spider plant, it’s important to identify the underlying cause and take appropriate measures, such as adjusting watering frequency, providing adequate light and temperature, repotting the plant, and treating pests.
- Regular care and maintenance, such as watering, fertilizing, and pruning, can help prevent spider plant drooping and promote healthy growth.
See reasons why your other favorite houseplants might be drooping & how to fix it:
Understanding Spider Plant Drooping
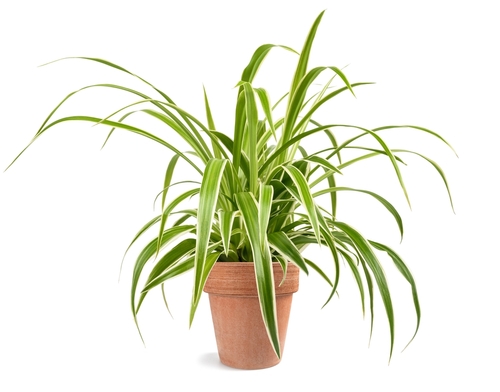
Spider plants are popular houseplants known for their air-purifying qualities and ease of care. However, sometimes these plants can develop drooping or wilted leaves, which can be a sign that something is wrong. In this section, we will discuss the signs of a drooping spider plant and the common causes of this issue.
Signs of a Drooping Spider Plant
A drooping spider plant can be identified by its wilted or limp leaves. The leaves may also appear yellow or brown and may be curling or drying out. In some cases, the plant may also be shedding leaves.
Common Causes of Drooping
There are several reasons why a spider plant may be drooping. Here are some of the most common causes:
- Lack of Water or Inadequate Moisture: Spider plants need to be watered regularly, but they don’t like to be completely dried out for extended periods. If the soil feels dry to the touch, it’s time to water the plant.
- Overwatering: Overwatering can also cause a spider plant to droop. If the soil is constantly wet and waterlogged, the roots may begin to rot, leading to wilted leaves.
- Drainage Issues: Poor drainage can cause water to accumulate in the soil, leading to root rot and drooping leaves. Make sure that the pot has drainage holes and that excess water can drain away from the plant.
- Lack of Light: Spider plants need bright, indirect light to thrive. If the plant is not getting enough light, it may begin to droop and wilt.
- Temperature Stress: Spider plants prefer temperatures between 60 and 80 degrees Fahrenheit. If the plant is exposed to extreme temperatures, it may begin to droop and wilt.
Watering and Spider Plant Care
Spider plants are relatively easy to care for, but they can be sensitive to overwatering and underwatering. Proper watering is crucial for the health and growth of spider plants. In this section, we will discuss the ideal watering routine for spider plants, as well as the effects of overwatering and underwatering.
Ideal Watering Routine
Spider plants prefer to be kept in moist soil, but not soaking wet. It is important to ensure that the soil is not allowed to dry out completely, as this can cause the leaves to droop and wilt. On the other hand, overwatering can lead to root rot and other problems.
The ideal watering routine for spider plants is to water them thoroughly once a week, allowing the soil to dry out slightly between waterings. It is important to use room temperature tap water, as cold water can shock the roots and cause damage.
A moisture meter can be a helpful tool to ensure that the soil is not too dry or too wet. Insert the meter into the soil and read the moisture level. If the soil is too dry, it is time to water the plant.
Effects of Overwatering and Underwatering
Overwatering can be just as harmful to spider plants as underwatering. When spider plants are overwatered, the soil becomes waterlogged and the roots are deprived of oxygen. This can lead to root rot, which can be fatal to the plant. Signs of overwatering include yellowing leaves, wilting, and a foul odor coming from the soil.
Underwatering is also a common problem with spider plants. When spider plants are underwatered, the leaves will start to droop and wilt. The plant may also develop brown tips and edges on the leaves. In severe cases, the plant may even start to shed leaves.
Light and Temperature Requirements
Ideal Lighting Conditions
Spider plants require bright, indirect light to thrive. Direct sunlight can scorch the leaves, while full shade can cause the leaves to droop and turn yellow. Ideally, spider plants should be kept in a spot that receives bright, indirect light for at least six hours a day.
If the plant is not getting enough light, it may become leggy and lose its vibrant green color.
Ideal Temperature Conditions
Spider plants are tolerant of a wide range of temperatures, but they do have some preferences. They prefer temperatures between 60-80°F (15-27°C) and can tolerate temperatures as low as 40°F (4°C) and as high as 90°F (32°C). However, they do not like sudden temperature changes or drafts, which can cause the leaves to droop.
During the hot summer months, spider plants may benefit from being moved to a cooler location. If the temperature is consistently below 65°F (18°C), the plant may not grow very much. Inappropriate temperature can cause the leaves to become discolored, wilt, and eventually die.
Soil and Drainage
Choosing the Right Soil
The soil is an essential factor in the health of a spider plant. It is important to choose a soil mix that is well-draining and nutrient-rich. A good soil mix for spider plants is a combination of peat moss, perlite, and vermiculite. This mix allows for good drainage and aeration, which is essential for the roots to grow and thrive.
It is also important to choose a soil mix that is fresh and of good quality. Using old or poor-quality soil can lead to poor drainage, which can cause root rot and other issues. When purchasing soil, make sure to check the expiration date and look for signs of mold or fungus.
Importance of Good Drainage
Good drainage is crucial for the health of a spider plant. Poor drainage can lead to waterlogging, which can cause the roots to rot and the plant to wilt. It is important to ensure that the plant has drainage holes in the pot to allow excess water to escape.
If the plant is in a pot without drainage holes, it is recommended to repot it into a pot with drainage holes. Additionally, it is important to avoid overwatering the plant, as this can also lead to poor drainage and root rot.
Nutrition and Fertilizer
Signs of Nutrient Deficiency
Spider plants can become droopy if they are not receiving the proper nutrients. Signs of nutrient deficiency include yellowing leaves, stunted growth, and brown leaf tips. If a spider plant is not receiving enough nutrients, it may also produce smaller plantlets.
Choosing the Right Fertilizer
Choosing the right fertilizer is essential to keep spider plants healthy and prevent drooping. A balanced fertilizer that contains equal parts of nitrogen, phosphorus, and potassium is ideal. Organic fertilizers are also a great option as they release nutrients slowly and do not cause salt buildup in the soil.
When choosing a fertilizer, it is important to read the label carefully and follow the instructions. Over-fertilizing can lead to salt buildup in the soil, which can cause the plant to droop. Spider plants only require fertilization every two to three months during the growing season.
To prevent salt buildup, it is recommended to flush the soil with water once a month. This helps to remove any excess salts that may have accumulated in the soil.
Repotting and Root Care
When and How to Repot
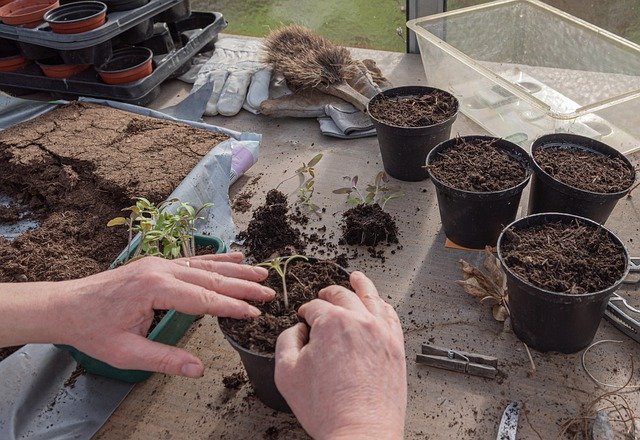
Spider plants can become root-bound when their roots outgrow the container. Repotting is necessary to give the plant more room to grow and prevent root rot. Signs that a spider plant needs repotting include roots growing out of the drainage holes, the soil drying out quickly, and the plant becoming top-heavy.
The best time to repot a spider plant is in the spring or summer when it is actively growing. Choose a container that is one size larger than the current one and has drainage holes. Fill the new container with fresh potting soil, leaving enough space for the plant to fit comfortably.
To remove the spider plant from its old container, gently loosen the soil around the edges with your fingers or a tool. Turn the container upside down and tap the bottom to release the plant. Place the plant in the new container and fill in the gaps with fresh soil. Water the plant thoroughly and let it drain before placing it in its new location.
Caring for Spider Plant Roots
Root care is essential for the health of a spider plant. Overwatering can lead to root rot, which can be fatal for the plant. To prevent root rot, make sure the soil is well-draining and allow the top inch of soil to dry out before watering again.
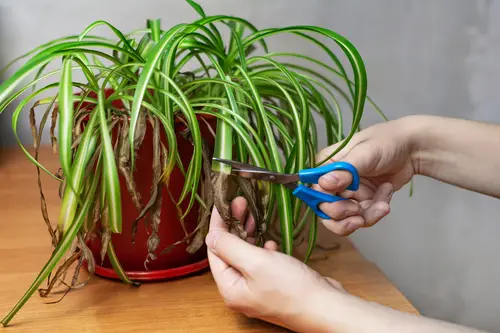
If the spider plant is root-bound, the roots may be compacted and tangled. Gently loosen the roots with your fingers or a tool before repotting to encourage new growth. If the roots are brown and mushy, they may be rotting. Trim off any damaged roots with clean scissors before repotting.
Spider plants can also benefit from occasional root pruning. To do this, remove the plant from its container and trim away the outer layer of roots with clean scissors. Repot the plant in fresh soil, and it will have room to grow new healthy roots.
Dealing with Pests
Common Spider Plant Pests
Spider plants are generally hardy and can tolerate a wide range of conditions. However, they are not immune to pests. The most common pests that affect spider plants include spider mites and aphids. Spider mites are tiny, eight-legged creatures that feed on the sap of the plant, causing yellowing and browning of the leaves. They also produce webs that can cover the plant. Aphids, on the other hand, are small, soft-bodied insects that suck the sap from the plant, causing stunted growth and yellowing of the leaves.
Preventing and Treating Pests
The best way to deal with spider plant pests is to prevent them from infesting the plant in the first place. Here are some tips to prevent spider plant pests:
- Keep the plant in a well-ventilated area with good air circulation to prevent the buildup of moisture, which can attract pests.
- Check the plant regularly for signs of infestation, such as webbing, yellowing or browning leaves, and distorted growth.
- Avoid overwatering the plant, as this can create the damp conditions that pests thrive in.
If you do notice signs of pest infestation, take action immediately to prevent the problem from getting worse. Here are some ways to treat spider plant pests:
- Use a mild soap solution to wash the affected leaves and stems. This will help to remove any pests and their eggs.
- Apply a commercial insecticidal soap or neem oil spray to the plant. These products are effective against spider mites and aphids and are safe to use on spider plants.
- If the infestation is severe, you may need to resort to chemical pesticides. However, these should be used as a last resort and only under the guidance of a professional.
By following these tips, you can keep your spider plant healthy and pest-free.
Propagating and Caring for Spider Plant Offshoots
How to Propagate Spider Plant Offshoots

Spider plants are easy to propagate, making them an ideal plant for beginners. Propagating spider plants can be done in two ways: water propagation or soil propagation. To propagate spider plant offshoots using water, cut the baby plant off the mother plant as close to the base as possible.
Place the cut end in a jar or vase filled with water, making sure the bottom of the stem is submerged. Keep the jar in a bright spot, but not in direct sunlight. Change the water every few days to prevent bacteria growth and to keep the water fresh. Within a few weeks, roots will start to grow from the cut end of the stem.
Once the roots are about an inch long, the new spider plant can be transferred to a pot with soil.
To propagate spider plant offshoots using soil, cut the baby plant off the mother plant as close to the base as possible. Dip the cut end of the stem into rooting hormone powder. Plant the stem in a pot filled with moist soil, making sure the soil is well-drained.
Keep the soil moist and place the pot in a bright spot, but not in direct sunlight. Within a few weeks, roots will start to grow from the cut end of the stem. Once the roots are about an inch long, the new spider plant can be transferred to a bigger pot with fresh soil.
Caring for New Spider Plants
Once the new spider plant offshoots have been propagated and planted in soil, it’s important to care for them properly to ensure their growth and health. Spider plants prefer bright, indirect sunlight and well-draining soil.
Water the plant when the top inch of soil is dry to the touch, but avoid overwatering as this can lead to root rot. Fertilize the plant once a month during the growing season with a balanced, water-soluble fertilizer.
Spider plants are prone to pests, including spider mites and mealybugs. Check the plant regularly for signs of infestation, such as webbing or white, cotton-like spots on the leaves. If pests are present, treat the plant with an insecticidal soap or neem oil spray.
Troubleshooting Spider Plant Problems
Identifying and Solving Common Issues
Spider plants are relatively low maintenance, but they can still experience problems that may cause their leaves to droop. Here are some common issues that may cause spider plants to droop and how to solve them:
- Lack of Water or Inadequate Moisture: If the soil feels dry to the touch, it’s likely time to water the plant. However, overwatering can also cause drooping, so be sure not to water too frequently. It’s best to let the top inch of soil dry out between watering sessions.
- Too Much Direct Sunlight: Spider plants prefer bright, indirect sunlight. If the plant is placed in an area that receives too much direct sunlight, its leaves may start to wilt. Move the plant to a shadier spot to revive it.
- Overfertilization: Too much fertilizer can cause the tips of the spider plant’s leaves to turn brown and curl. If you suspect overfertilization, flush the soil with water to remove excess salts.
- Root Bound: If the spider plant has outgrown its container, its roots may be cramped and unable to absorb water properly. Repot the plant in a larger container with fresh soil.
Reviving a Drooping Spider Plant
If your spider plant is drooping, here are some steps you can take to revive it:
- Water the Plant: If the soil feels dry, water the plant thoroughly. Be sure not to overwater, as this can cause root rot.
- Trim Dead Leaves: If the spider plant has any dead or yellow leaves, trim them off with scissors or pruning shears. This will help the plant focus its energy on healthy growth.
- Move to a Shadier Spot: If the plant is receiving too much direct sunlight, move it to a shadier spot. Spider plants prefer bright, indirect sunlight.
- Check for Pests: Spider plants are relatively pest-resistant, but they can still fall victim to spider mites or mealybugs. Check the plant for any signs of pests and treat accordingly.
Frequently Asked Questions
How do you fix a droopy Spider Plant?
To fix a droopy Spider Plant, start by checking if the plant is getting too much or too little water. Make sure the soil is moist but not waterlogged. If the soil is dry, water the plant thoroughly.
If the soil is wet, let it dry out before watering again. You can also try moving the plant to an area with better lighting or adjusting the temperature and humidity levels.
Why does my spider plant droop?
Spider plants can droop due to a variety of reasons. Overwatering, underwatering, lack of sunlight, or exposure to extreme temperatures can all cause the plant to droop.
Additionally, pests or diseases can also affect the plant’s health. It’s important to identify the cause of the drooping so you can properly address the issue.
What does an over watered spider plant look like?
An overwatered spider plant may have yellowing leaves, soft and mushy stems, and a foul odor. The soil may also be waterlogged, with standing water visible on the surface. Overwatering can lead to root rot, which can be fatal to the plant if not addressed promptly.
Does spider plant need direct sunlight?
While spider plants can tolerate direct sunlight, they prefer bright, indirect light. Direct sunlight can cause the leaves to burn or turn yellow. Place your spider plant in a location that receives bright, indirect light for optimal growth.
Will droopy Spider Plant leaves recover?
If the cause of the drooping has been addressed, droopy Spider Plant leaves can recover. However, if the issue is not addressed, the leaves may continue to droop or die off. Be patient and consistent with your care routine to encourage healthy growth.
How to save a dying spider plant?
To save a dying spider plant, start by identifying the cause of the problem. If the plant is overwatered, allow the soil to dry out before watering again. If the plant is underwatered, water it thoroughly and consistently.
Additionally, make sure the plant is receiving adequate light and is not exposed to extreme temperatures. If the plant is infected with pests or diseases, treat it with appropriate measures. With proper care, a dying spider plant can often be revived.

Hey, I’m Lisa and I’ve been an avid gardener for over 30 years. I love writing, talking and living in the garden! Feel free to connect with me on my socials below
