If you are interested in learning more about perlite propagation, you are probably already aware of some of the great uses perlite has. Did you know that perlite is a kind of volcanic glass? It has some amazing properties, which we are going to look at today.
Perlite is wonderful for propagating plants, because it provides constant moisture, stable temperatures, and support for the stems. It can also make it easier to transfer the cutting when it is time to move it into soil, because the roots will be stronger, and the perlite can be transferred with them.
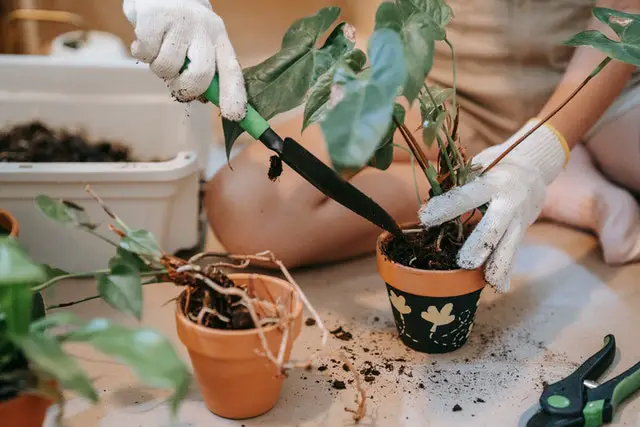
Perlite Propagation
You may find that you have a lot of success with propagating plants in perlite, and you shouldn’t underestimate the value of this fantastic material. You can propagate all kinds of plants in perlite by mixing it with a good amount of water and then standing the cutting in it, just as you would stand it in soil.
Perlite is a lot cleaner than soil, and offers many other advantages too. It maintains its shape, so it will support the plants effectively, and it contains plenty of air pockets that will ensure the developing roots have access to both water and oxygen.
Additionally, perlite is light, so it won’t get compressed around the roots and damage them, and the good air ratio means that there is little risk of the plant’s roots rotting before they have had a chance to develop, which sometimes happens with soil propagation.
Furthermore, you can transfer the perlite with the plant when you finally move it over to soil. This massively reduces the risk of damaging the roots at a critical stage where you have invested a lot of time in your cutting, so it’s a major advantage. Simply bury the whole thing without disturbing the roots, and the cutting is much more likely to thrive.
With all that in mind, let’s find out how to undertake perlite propagation.
Step 1) Soak The Perlite
Your perlite should be soaked for a couple of hours before you start potting up your cuttings. Some people prefer to soak it overnight to ensure it has absorbed plenty of water. To do this, simply tip the desired amount of perlite into a bowl and add lots of water so that it is floating.
You can then leave it to soak until it is thoroughly wet. When it is, drain off the excess moisture, so that the perlite is wet but not dripping. It should then be ready to use for your plants, and it will give them plenty of moisture.
Step 2) Fill The Pot
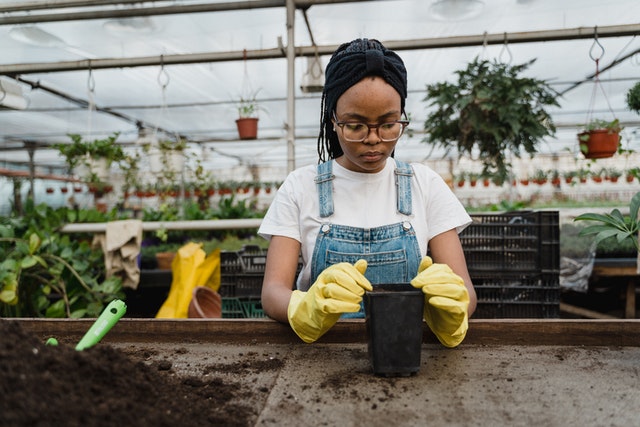
Next, identify a suitable pot for your plant cuttings. This should generally be fairly small, since cuttings don’t need a lot of space. It does not need to have drainage holes, as you will be keeping the cutting constantly wet. Some people like to use glass jars or jugs, but anything should be fine. Clear containers are often easier to work with.
Fill the container with perlite, leaving a bit of room near the top so you can push the perlite around freely and later add the cutting to it. Fill the bottom ¼ of the container with water, so that you can see the line of the water. Pat the perlite down a bit so it will provide a stable structure around your plant.
Step 3) Plant Your Cutting
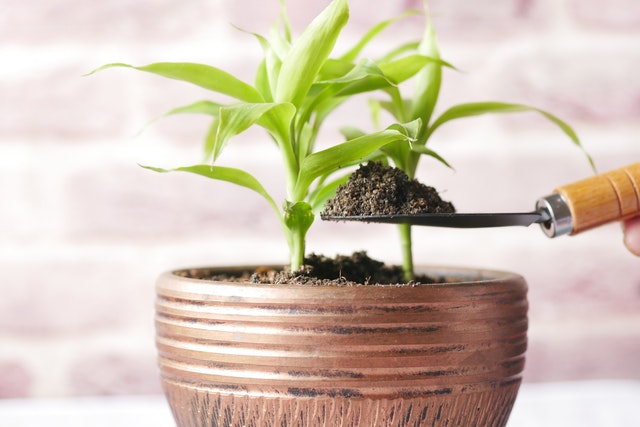
Take a cutting from your desired plant, making sure it contains a growth node. Use your finger to make a hole in the center of the perlite and then slip the cutting inside. Gently pat the perlite around it.
Next, you need to trap some of the water in so your cutting doesn’t dry out too fast. To do this, you can either wrap the top of the container in plastic wrap (just work around the plant’s stem), or you can put a clear plastic bag over the plant.
If you use a clear plastic bag, make sure you put an elastic band around the neck of the container to hold the bag in place. This will trap the water in the container and make sure your plant stays damp. You should take it off every few days to let air get at the roots. This will help to prevent mold.
Step 4) Check On The Plant
Every week or two, you should check that there is still enough water in the container. If the perlite has dried out, water it some more, but only fill the container to the bottom ¼.
After about 4 to 6 weeks have passed, you can gently lift the plant out of the perlite, taking as much perlite with it as you need to keep the roots intact. Pot this into a new container with soil, and water it well. You should now have a successful cutting, propagated in perlite!
Learn more in this category: African Milk Tree Propagation
Summary
If perlite propagation appeals to you, it’s very simple to undertake. Most garden centers and nurseries now sell perlite, so you should be able to pick up a bag easily. All you need to do is mix it with water, put it in a container, and add your cuttings so that they can start growing roots!
Frequently Asked Questions
Do you water cuttings in perlite?
If the perlite dries out while your plant is still growing its roots and getting established, you may sometimes need to water it, yes. On the whole, however, perlite holds its water well, so if you have added plenty of water to begin with, you may find that you don’t need to water the cuttings.
If the atmosphere is very dry or the plant is a particularly thirsty one and you need to keep it in the perlite for a long time, make sure you are checking the moisture levels. Young plants are very sensitive to being dried out, so you need to make sure your plants are being given enough to drink.
How long does it take to propagate in perlite?
The propagation time period will depend heavily on the kind of plant that you are propagating, as some cuttings grow their roots much more quickly than others. However, as a basic rule of thumb, you should expect it to take between 4 and 6 weeks for your plant to produce strong enough roots to be transferred to another container.
Be patient with your cuttings, and don’t keep pulling them out of the perlite to inspect their root formation, as this will damage the roots. Wait at least a month before you try to move them to new containers.
Can you grow plants in just perlite?
Some plants can be grown in just perlite, yes. However, you should choose your perlite grade with care, and opt for the finger grades if you want your plants to flourish. Perlite isn’t the cheapest material for growing plants in, but it serves the same job as soil in terms of providing anchorage and holding water around the plant’s roots.
You can use perlite for starting off seeds, getting cuttings to root, or growing plants. Make sure you research what grade of perlite would be best for your plant, as this can vary depending on the conditions the plant prefers.

Hey, I’m Lisa and I’ve been an avid gardener for over 30 years. I love writing, talking and living in the garden! Feel free to connect with me on my socials below