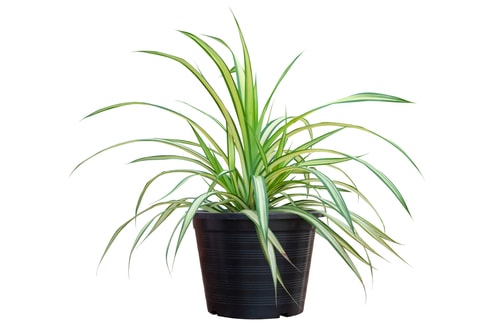
The spider plant is one of the most common household plants, and it’s easy to see why. Spider plants also have air-purifying properties and are known to remove harmful toxins such as formaldehyde and xylene from the air, making them a great addition to any home or office space. While spider plants produce tiny, white flowers from time to time (mostly they don’t), the plants themselves are all the blooming, bushy aesthetic you need.
They make great visual plants and are known for their bushy appeal, with long leaves extending well out from the pot. But what do you do when it’s not as bushy as it should be? How to Make Spider Plant Bushier when it’s drooping and reserved?
How to Make Spider Plant Bushier
The solution is multifaceted, but it basically boils down to taking care of your spider plant. That includes pruning it and cutting back the dead ends, aiding its natural propagation, and repotting it, if necessary.
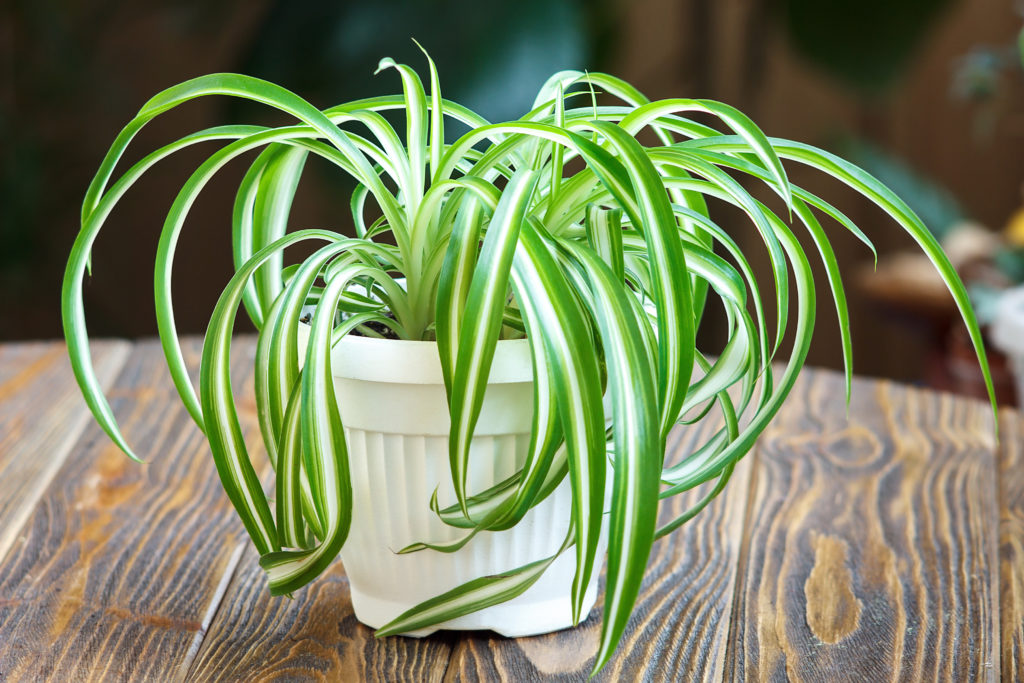
Spider plants are just like any other plant. They need the essentials to survive, but proper maintenance allows them to thrive. A thriving spider plant doesn’t look tired, isn’t wilting, and is spread out, wildly displaying its vibrant light and dark green leaves.
Spider plants owe a great deal of their popularity to being low maintenance. That’s true in most cases, but “low maintenance” isn’t the same as “plant it and forget it.” Repotting is a prime example. Some people will buy a mid-size spider plant and never consider buying a larger pot.
The problem is, your spider plant is going to grow. At some point, the mid-size pot that it comes in is not going to be enough. Pruning is another example. There’s no reason to allow dead, browning, or yellowing leaves to just sit there.
Spider plants, like most plants, reproduce. They do this by producing “stolons” that grow little spider-looking formations on their tips. Propagation is another good way to help your spider plant thrive, and it’s really not that difficult to cultivate (more on that below).
Also read: Spider Plant vs. Dracaena
Trimming and Pruning Your Spider Plant
Pruning accomplishes two things—it helps the spider plant to grow up as much as it grows out, and it relieves the spider plant of the unnecessary diversion of energy and resources to a dead or dying blade/leaf.
If you don’t properly prune your spider plant, it will continue to grow, but it won’t look like something that qualifies as healthy. In other words, it grows out and never up, suffering under the weight of its own, dying extensions.
It’s routine to prune off dying or unhealthy limbs, leaves, and flowers on garden vegetables because those plants are diverting the energy they harvest from the sun (through photosynthesis) to unnecessary and dying parts of themselves.
You cut that off, and your plant can make better use of that energy by sending the nutrients and water it absorbs from the soil to the right place. It’s not something you have to do every day. In fact, twice a year is the typical number. When you prune, it’s important to hit the right spots and not overdo it.
- Use a regular pair of household scissors
- Any foliage you remove should be clipped at the base
- If it looks diseased, clip it
- If it is brown or in the process of browning, clip it
- If it is yellowing or curling up, clip it
- Water it well with distilled or collected rainwater
Rainwater and distilled water are great choices because they lack the chemicals often found in tap water, such as chlorine and fluoride.
Repotting a Spider Plant
There are signs that a spider plant is ready for pruning, such as dead or dying foliage, yellowing or curling, or dead tips. A spider plant is also good at letting you know it’s time to move into a larger home.
- If its roots are visible at the top of the soil
- Browning at the tips of its leaves
- New leaves are coming in smaller
- New leaves are coming in small and quickly turning brown
A larger container will provide your growing spider plant with more soil and allow you to give the plant more water so it can sustain itself and its longest leaves. When you re-pot, you’re likely dealing with a larger spider plant and you want to both minimize the shock and provide it with improved soil.
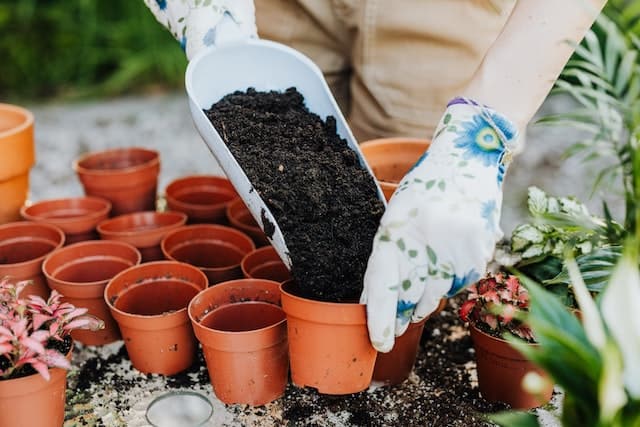
Gardening and potting soils are the best soils on the market for spider plants. It’s not a good idea to go out in your backyard and dig up some new soil for your plant. There’s no telling what weed seeds, diseases, and other problems you’re bringing along with it.
Make sure your gardening and potting soil are well aerated. Check the moisture retention rate on the bag of soil before you buy it. Once the new pot is ready, it’s time to make the transplant.
- Be very careful when you remove the spider plant from its original pot
- Make sure the roots look healthy and prune any bad ones
- Carefully knock off the old soil from around the roots
- Place the spider plant in a hollow depression in the new soil
- Fill in the gaps with fresh, new soil
- Water it well and be sure that it drains well
Propagating Your Spider Plant
When you see those long stolons and the baby spider plants on the end, it’s time to help your spider plant propagate. If you do this the right way, you will have an extremely bushy spider plant, helped with a combination of the little spider plants and the central, large one.
Don’t cut them off as soon as you see them growing on the end of the stolon. They will develop their own roots as they are growing on the ends. You need to wait until those roots are around 1” long before you take any action.
- Carefully prune the small spider plants off, cutting as close as possible to the young plant
- Avoid cutting any of the roots
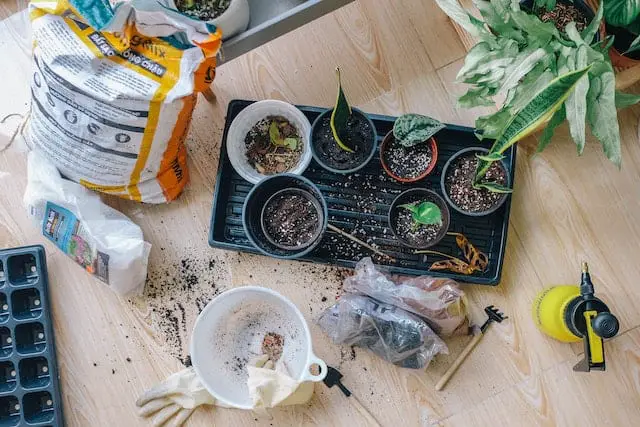
- Carefully prepare small containers filled with moistened peat moss
- Place each of the small spider plants in these prepped containers
- Cut the hanging stolon off the original spider plant (cut it at the base)
- Keep the small spiders in their containers until their roots are 2.5” to 3”
- Transplant them to the soil around the parent plant
Of course, you shouldn’t place them in the same soil as the parent spider plant if there is no room for them. At this point, your spider plant should be in a much larger pot, with plenty of room for the newbies to move in. As they grow, the bushy appearance of your spider plant will be incredible.
Also, you can take some of the growing baby spider plants and put them in their own pots. That way, you can grow as many spider plants as you want and either keep them around the house (in areas with intermittent light) or give some to friends or neighbors.
However, adding a few to the parent spider plant will do more than anything else to give it a much more bushy appearance.
Bottom Line
Spider plants are really easy to maintain, but that doesn’t mean you can just let them go. They’re known for their exceptionally bushy appearance, and it’s important to cultivate that by routine pruning every year, helping the plant propagate, and transporting it to a larger pot when the original can no longer sustain it.

Hey, I’m Lisa and I’ve been an avid gardener for over 30 years. I love writing, talking and living in the garden! Feel free to connect with me on my socials below