
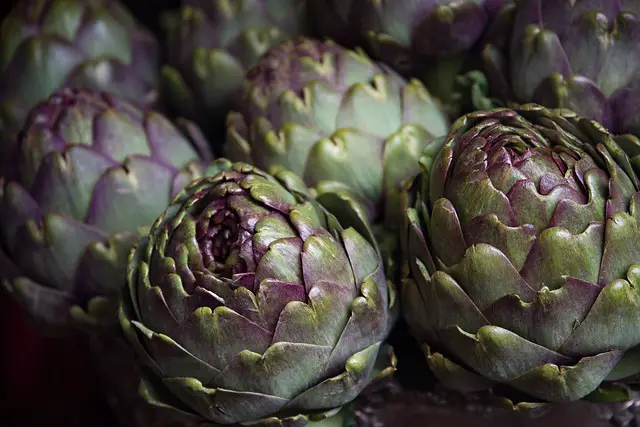
The artichoke is a member of the thistle family and is considered a delicacy in many parts of the world. Artichokes can be easily grown at home for fans of its juicy, bitter taste despite not being popular with many people. Growing artichokes in your garden is easy and simple to handle. Still, many gardeners have several concerns such as how to grow artichokes from crowns before planting these delicious veggies and many more queries on artichokes’ proper care.
So, this post will guide you to ensure your artichokes thrive. As a starting point, you will be limited to Jerusalem artichoke if you’re propagating it with store-bought produce.
In addition, you must have a fully grown artichoke to take cuttings from other varieties, like globe artichoke (the one you find at the grocery store). To learn more about how to grow artichokes from crowns, read further.
How To Grow Artichokes From Crowns?
Artichoke is a vegetable grown primarily for its tender and delicious flower buds. You can grow it as a perennial or an annual. Developing artichokes as a year is the most ideal choice on the off chance that you live in a colder environment.
Warm, fertile soil and mild winters are ideal for artichokes. These mild winter climates allow you to grow artichokes as a perennial vegetable. These zones are ideal for growing artichokes. One to three artichoke seeds should be sewn down 0.5 inches in potting or garden soil.
Suckers, roots, and seeds can be used to grow them. However, several people will only discuss how to grow artichokes from seeds and crowns for this article.
Artichoke Harvesting
Summer is the best time to harvest artichokes. When bloom buds arrive at the size of a golf ball, they can be collected with a secateur. Optional buds will show up after you have reaped the primary fundamental blossom buds. Once they are large enough, you can also harvest these secondary flower buds.
Diseases And Pests That Affect Artichokes
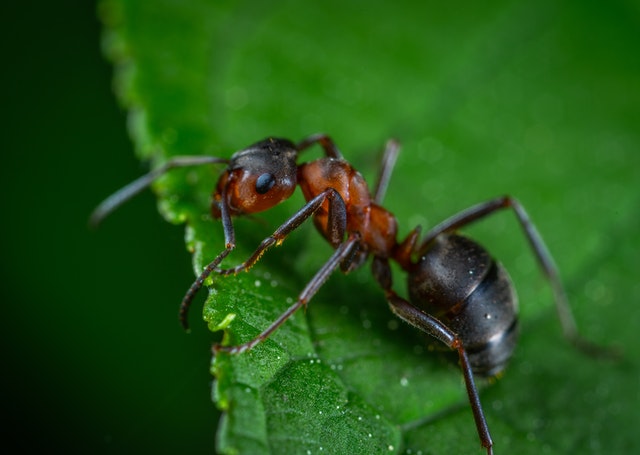
Pests that attack artichokes include young earwigs, artichokes, plume moths, aphids, snails, and slugs. Slugs and snails can be managed by spreading sawdust and eggshells on the fertilized soil or nursery region. On account of aphids, you can handle them by crushing aphid provinces. You can also use biological control by using biological enemies and cultivating mixed crops.
Young earwigs should be treated with hot pepper repellent. You can identify the type by sprinkling hot pepper on them. If there is an artichoke plume moth infestation, use insecticides. Insecticides are effective in controlling the pest.
Seeds For Growing Artichokes
Four-inch starter pots should have a starter mix filled to a height of 12 inches. The mix should be moistened well before use. Separate each artichoke seed by approximately 1 inch in each pot. Place 12 inches of soil in each pot and pat it down gently.
Grow lights should be placed under the pots at a 60 to 80 degrees Fahrenheit temperature. During the initial eight to ten weeks after the fledglings show up, develop the plants under the develop lights until they are 8 to 10 inches tall and have two arrangements of leaves.
Prepare the seedlings routinely with fish emulsion blended and applied by mark bearings during the entire time they are inside. Separate the more vulnerable seedling from each pot partially through the indoor period.
You should prepare your garden bed by working manure or compost into the soil at the top. In addition to having good drainage and full sun, the location should be far from buildings, tree roots, and other vegetation. Soak the dirt with water; however, don’t become spongy.
Keep the starter blend around the roots flawless when relocating the seedlings 6 feet separated into the pre-arranged bed. The surface of the starter mix should be level with the soil when the root ball is set in the hole.
Artichokes That Have Reached Maturity Can Be Divided
Dormant artichoke roots are available at garden centers and nurseries. Pick a mature plant with a few sprouts growing next to it during the dormant period in autumn or winter.
The dirt between the developed artichoke plant and the 8-inch-long shoot develops from it. The foundations of the shoot can be isolated from the remainder of the root ball by sawing the dirt this way and that a couple of inches. However, use care not to harm the underlying foundations of the setup artichoke.
Embed a nursery spade close to the take shots toward one side of the blade cut. Burrow down the whole edge of the spade and push the spade handle down somewhat to slacken the underlying foundations of the shoot.
Next, pull out the spade and reinsert it close to the main cutting edge cut. Rehash the releasing, pulling out, and embedding the spade right around the shoot a few creeps from it. When you arrive at the opposite finish of the blade cut, you ought to have the option to pull the shoot and root ball out of the ground.
How to Care For Your Artichokes
After growing your artichokes, you need to care for and maintain them for optimal growth. Here are some simple tips you can follow:
1. Add Mulch to the Soil
To promote the healthy growth of your artichokes, apply organic mulch around the plants. In addition to limiting the growth of weeds, mulching helps to preserve the soil moisture. Also, organic mulch helps to maintain the soil temperature and also provides it with organic matter.
2. Fertilize Regularly
Due to their nature as heavy feeders, artichokes require regular fertilizer application. Add some compost to the plant roots or provide them with organic fertilizers. Follow the manufacturer’s instructions before fertilizing your artichokes.
3. Monitor the Plant for Pests & Diseases
Keep an eye on the artichokes for signs of pests and diseases. Aphids, snails, mites, thrips and slugs are some of the most common pests that attack these plants. Common diseases that affect them include root rot, botrytis blight and powdery mildew. Proper monitoring and care can help keep your artichokes safe from these issues.
4. Water Regularly
As they require regular feeding, artichokes also need frequent watering. During the dry season, most importantly, make sure the soil is moist. But be careful to avoid overwatering the plant, which may cause root rot. Just make sure the artichokes roots get enough water.
Learn more from another post: Hoya Krimson Princess Care
Summary
Now you know how to grow artichokes from crowns. Root crowns are the best way to grow artichokes successfully. Since root crowns already exist, they grow quickly. The seeds, however, do not have to pass through all four major stages of plant growth.
Sometimes, artichokes grown from seeds don’t grow like their parents. The flavor may also be reduced with some pests.
Frequently Asked Questions
What are the nuisances and infections of artichokes?
The normal nuisances of artichokes incorporate Young earwigs, artichokes crest moth, aphids, slugs, and snails. You can spread sawdust and eggshells on the prepared soil or nursery spot for slugs and snails. While for aphids, you can deal with them by pounding aphids settlements.
Likewise, you can utilize the organic control strategy utilizing natural adversaries and rehearsing blended editing. While for youthful earwigs, utilize hot pepper repellent. Showering hot pepper can assist with deciding the Youngwig.
Furthermore, for artichokes tuft moth, use insect poison program. It helps control the pervasion.
How would you regrow an artichoke?
Artichoke plants require full sun, so assuming you plant them too intently together, the huge plants can conceal more modest ones. Plant your artichoke transfers in succession at a timespan to 6 feet. Putting columns 6 to 8 feet separated will permit space to effortlessly water, treat, and collect.
What is an artichoke crown?
Plant artichoke root divisions or “crowns” in pre-spring on the off chance that the dirt is effectively worked or late-winter around fourteen days before the last ice. … Artichokes can be developed from seed or root divisions; they are most ordinarily developed from root divisions which are additionally called “crowns”.

Hey, I’m Lisa and I’ve been an avid gardener for over 30 years. I love writing, talking and living in the garden! Feel free to connect with me on my socials below