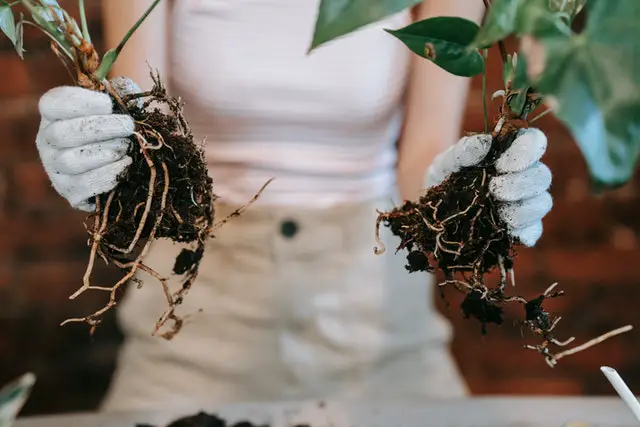
Are you wondering about Begonia maculata propagation and how you can successfully ensure that your begonia multiplies? If you lose your parent plant, do you have a backup plan? If not, it’s time to make one.
Begonia maculatas can be propagated through stem cuttings. If you are pruning your plant, cutting below a growth node will allow you to grow new plants from the cutting you have taken. This is best done in the spring. But, begonias can be quite sensitive, so it’s crucial to understand a few things to keep your plant in peak condition.
Begonia Maculata Propagation
If you have a beautiful Begonia maculata, you might want to propagate it, and this is surprisingly easy. These exotic plants may seem like they would be hard to reproduce, but with a little effort, it shouldn’t be too difficult.
Once you’ve taken cuttings, you will need to put the plants into new pots, and you can then do various things with them. You might want to consider:
Keeping a few for yourself, especially if you have a variety that you love
Gifting them to friends or family for special occasions
Putting up an honesty box and letting people take them in exchange for a small payment
Offering them on local free pages to spread the enjoyment of begonias
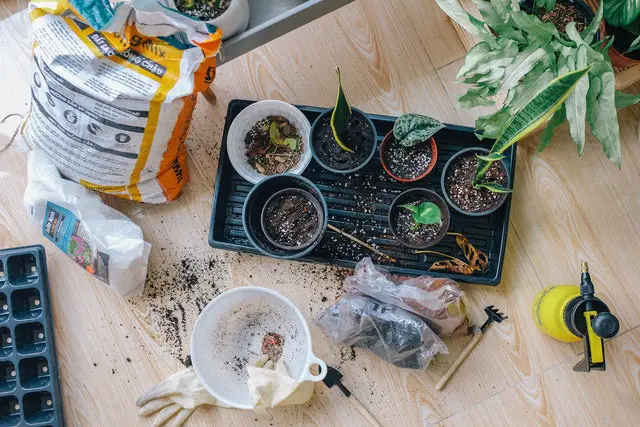
Because begonias are fairly easy to propagate, it’s well worth doing this yourself at home. You don’t even need much equipment. Some sharp scissors and containers with a suitable growing medium will do.
Today, we’re going to cover Begonia maculata propagation using water. You can use soil, but water tends to be easier.
Step 1: Identify A Suitable Shoot
The first thing you need to do is identify a shoot that will work for a cutting. This needs to be around 10 cm long, and it must have at least one growth node and one leaf if the plant is going to thrive. Avoid any shoots with flowers on, but make sure you’ve got nodes and leaves.
The node provides the “instructions” for the plant to produce more growth, and the leaf will generate energy while the plant starts establishing its roots. If either of these is missing, your cutting is likely to die.
The nodes are small swellings on the stems of the plant, and they are where new stems or leaves come from. They should be fairly easy to identify.
Step 2: Cut The Shoot
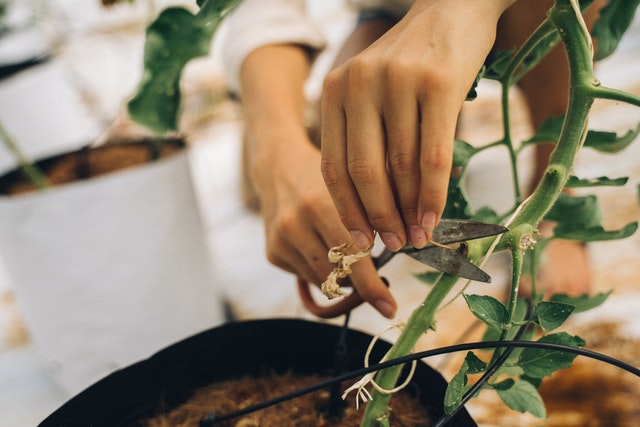
You should sterilize a pair of sharp shears for this. Sterile tools reduce the risk of infection when you make a cut into the plant’s tissues. Sharp tools reduce the damage and avoid tearing the cells. You can sterilize your shears by wiping them with rubbing alcohol. Alternatively, Cleanipedia recommends boiling them for 15 minutes.
Once they are sterile, run your fingers along the plant’s shoot until you find a growth node.
When you’ve identified a node, grasp the stem firmly with one hand to hold it steady, and cut below the node with your shears in one clean cut. “Below” means that your shears are closer to the main plant, rather than the top of the stem, and the node will be included on the cutting.
Make sure you do not damage the node as you do this, because the node is what the new growth should stem from, and a damaged node will not be able to produce new growth.
Step 3: Put The Cutting In Water
Next, you need to place the cutting in water. If possible, put some water on the side 24 hours in advance to let the chlorine evaporate off it, and then add this to a glass.
Put the cutting in the glass, with the growth node fully submerged in the water, but the leaves protruding. If your cutting has more than 1 or 2 leaves, remove the excess, as they take energy from the plant as well as providing it.
Place the glass in a warm spot around 68 degrees F (20 degrees C), away from direct sunlight. There should be enough bright light for the plant to photosynthesize, but direct sun may burn its leaves.
Step 4: Wait For Root Growth
Refresh the water every few days to avoid algal growth and keep the oxygen levels up, and wait for your Begonia maculata to start producing roots. You will need to be patient as this usually takes a few weeks. Rinse the plant when you change the water to wash any algae off its roots.
Once the roots start to show, keep your plant in the water and continue refreshing the water every few days until the roots are about half an inch long. When they are, you can put the cuttings in soil. If you move the plant too early, the fragile roots will get damaged and the begonia may die.
Step 5: Transfer The Cutting To Soil
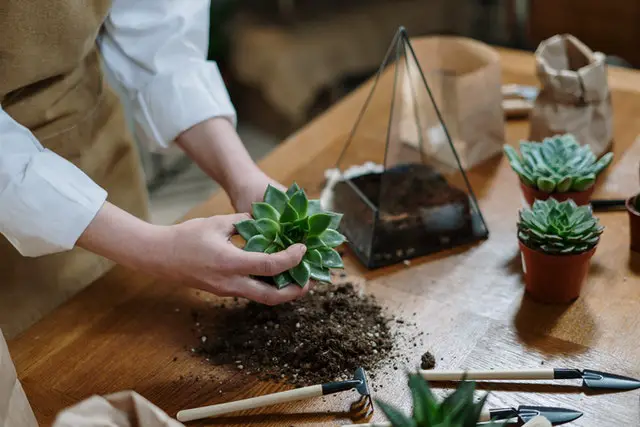
Prepare a suitable container with drainage holes and high quality potting soil, and then make a hole in the center to bury the cutting. Don’t go too deep; the top of the plant and all its leaves need to be above the surface of the soil, but all the roots should be covered.
Pat the soil down around the stem of the plant and water it to settle the soil around the roots. It may go limp for a few days as a result of transplant shock, but this will generally be brief.
Tips for Propagating Begonia Maculata Successfully
Even for beginners, begonia maculata propagation may seem easy. However, there are simple tips that will help you do it successfully.
Let’s take a look at some of them:
- Consider propagating your begonia maculata at home, as it is less expensive and more satisfying.
- Add some pebbles to the base of the pot when transplanting your Begonia maculata. This will help reduce the chances of root rot by increasing drainage.
- Once you notice dry flowers on the plant, cut them off and use their seeds to propagate new plants.
- Keep your Begonia maculata away from direct sunlight, even when indoors.
- Place the plant in rooms with temperatures between 67 and 70 degrees Fahrenheit.
When Is the Best Time to Propagate Begonia Maculata?
Knowing the best time to propagate your Begonia maculata plant is important. Although you can propagate the plant any time of the year, the best time is spring. At this time of the year, the plant’s chances of developing new leaves, roots, and shoots will be high.
Also, the environment is usually favorable for the begonia maculata in spring, thereby encouraging root development. Additionally, the plant can benefit from the rich nutrients in the soil, which will help it grow healthy.
Learn more from another post: Caladium Drooping
Summary
As you can see, Begonia maculata propagation is not very difficult, and you can do it without buying any fancy equipment or investing a lot of time. You can propagate your plant by taking a cutting with sterile shears, putting it in water for the roots to develop, and then transferring it to soil once it’s ready.
Frequently Asked Questions
How long does it take to propagate Begonia maculata?
It will usually take about a month for your Begonia maculata to produce visible roots around the cut node. In the best conditions, it may produce them as early as 3 weeks after being cut, but most of the time, it will be 4 weeks.
Where do you cut Begonia maculata to propagate?
You will need to cut Begonia maculata just beneath a growth node if you wish to propagate it. If you cut it above a growth node, the node will remain on the same plant. If you cut a lot of stem below the growth node, it will make it difficult to submerge the node in water or soil.
You should therefore cut just below the node, making sure that you do not damage the node. It’s better to have a little extra stem than to cut the node off or damage it with your shears.
Can you propagate Begonia maculata without node?
No, you cannot propagate Begonia maculata without a node. This node is the part of the plant that has the ability to produce new growth, so for Begonia maculata propagation, you must have at least one node on your cutting.
Ideally, you will have more than one node on each cutting, as this will help the new plant to put out shoots and leaves quickly. However, if your parent plant is still young and small, you won’t want to cut a lot off it. In this case, you should only take one growth node, rather than several.

Hey, I’m Lisa and I’ve been an avid gardener for over 30 years. I love writing, talking and living in the garden! Feel free to connect with me on my socials below